


আসসালামু আলাইকুম।
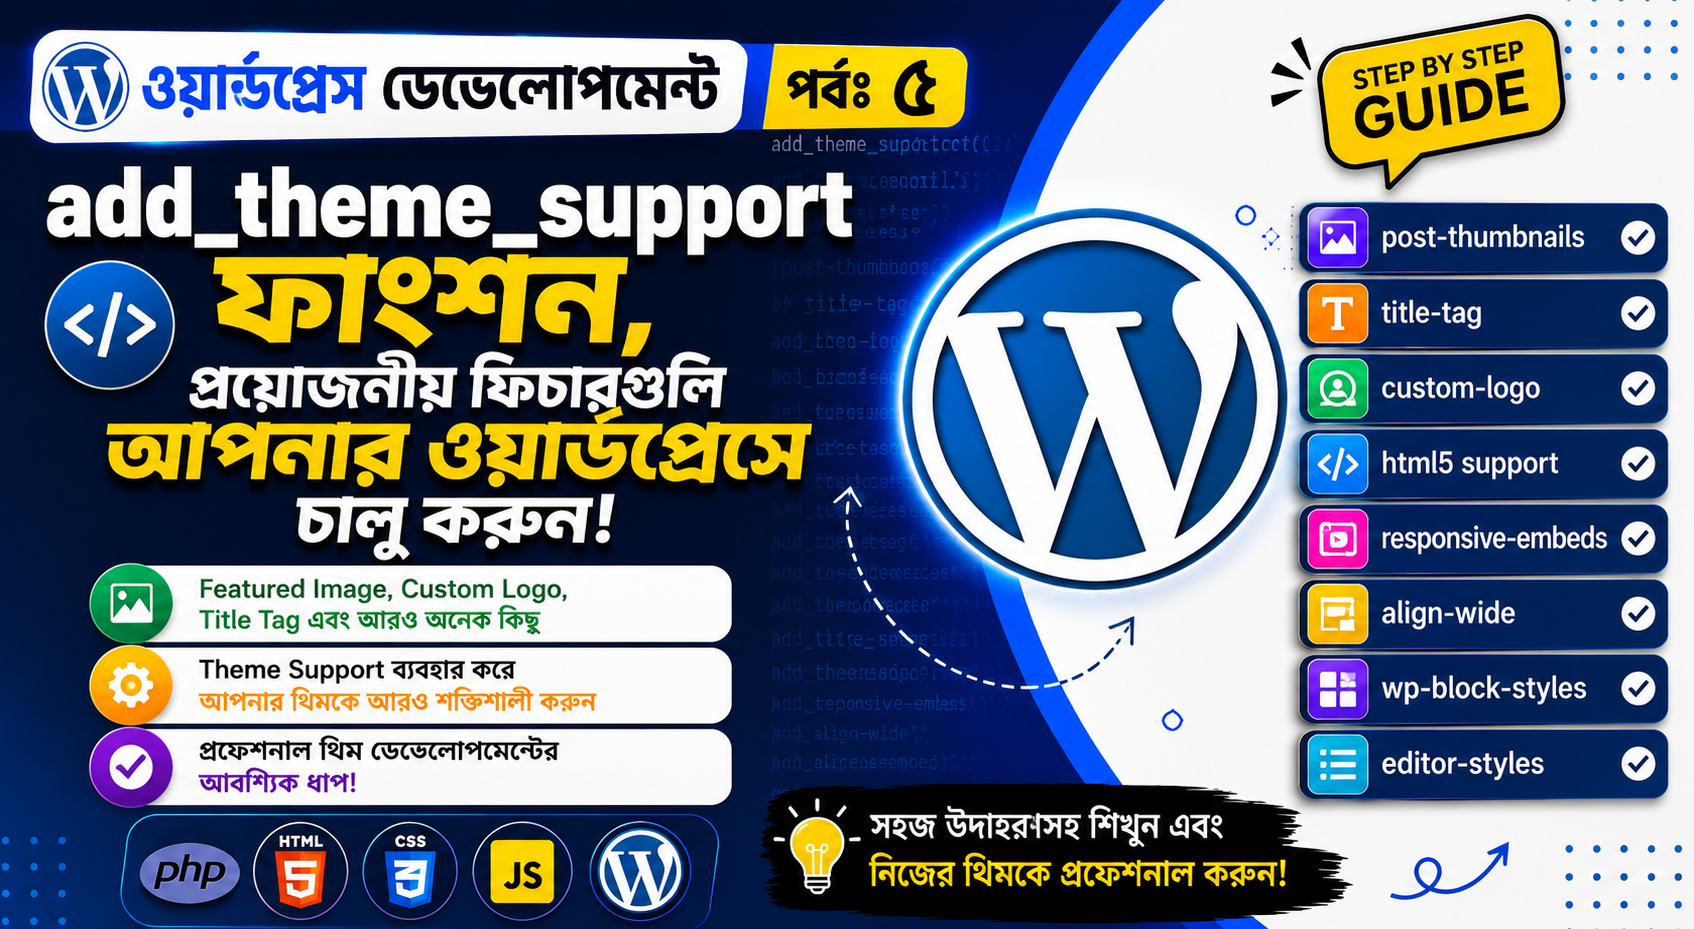
আমাদের WordPress Development Series-এর আজকের পর্বে আমরা WordPress Theme Development-এর একটি খুবই গুরুত্বপূর্ণ Function নিয়ে বিস্তারিত জানব—add_theme_support()।
আপনি যদি WordPress Theme Development শিখতে চান, তাহলে add_theme_support() কী, কেন ব্যবহার করা হয়, কোথায় ব্যবহার করতে হয় এবং কোন কোন Feature Enable করা যায়—এসব জানা অত্যন্ত জরুরি।
অনেক সময় WordPress Dashboard-এ কোনো Feature দেখা যায় না বা Theme-এ কোনো সুবিধা কাজ করে না। এর কারণ হতে পারে Theme সেই Feature-এর জন্য Support Enable করেনি।
আজকের পর্বে আমরা একদম Basic থেকে বাস্তব উদাহরণসহ বিষয়টি বুঝব।
add_theme_support() কী?
সহজ ভাষায় বললে,
add_theme_support() ব্যবহার করে আমরা WordPress-কে জানাই যে আমাদের Theme নির্দিষ্ট কোনো WordPress Feature Support করে।
যেমন আমাদের Theme-এ Featured Image ব্যবহার করতে চাই।
তাহলে functions.php-তে লিখতে পারি:
add_theme_support('post-thumbnails');
এর মাধ্যমে আমাদের Theme-এ Featured Image Support চালু করা হয়।
কোথায় add_theme_support() ব্যবহার করব?
সাধারণত এটি Theme-এর:
functions.php
ফাইলে ব্যবহার করা হয়।
তবে সরাসরি File-এর যেকোনো জায়গায় লিখে না দিয়ে সাধারণত একটি Theme Setup Function-এর মধ্যে রাখা ভালো।
যেমন:
function my_theme_setup() {

    add_theme_support('post-thumbnails');

}

add_action('after_setup_theme', 'my_theme_setup');
এখানে দুটি গুরুত্বপূর্ণ বিষয় আছে:
function my_theme_setup()
এটি আমাদের Theme Setup Function।
আর:
add_action('after_setup_theme', 'my_theme_setup');
এটি WordPress-কে বলছে Theme Setup-এর সময় my_theme_setup() Function চালাতে।
কেন after_setup_theme ব্যবহার করব?
WordPress Theme-এর Feature Support সাধারণত Theme setup-এর সময় Register করা হয়।
তাই:
after_setup_theme
Hook-এর সঙ্গে add_theme_support() ব্যবহার করা একটি প্রচলিত ও সঠিক পদ্ধতি।
আমাদের Basic Structure হবে:
function my_theme_setup() {

    // Theme support এখানে থাকবে

}

add_action('after_setup_theme', 'my_theme_setup');
এখন আমরা একে একে বিভিন্ন Theme Support দেখব।
১. Featured Image Support
WordPress Theme Development-এ এটি সবচেয়ে বেশি ব্যবহৃত Featureগুলোর একটি।
Featured Image চালু করতে:
add_theme_support('post-thumbnails');
সম্পূর্ণ Code:
function my_theme_setup() {

    add_theme_support('post-thumbnails');

}

add_action('after_setup_theme', 'my_theme_setup');
এখন Post Edit করার সময় Featured Image সেট করার Option পাওয়া যাবে।
Featured Image কীভাবে দেখাব?
Theme Template-এ:
<?php the_post_thumbnail(); ?>
ব্যবহার করতে পারি।
যেমন:
<?php if (has_post_thumbnail()) : ?>

    <?php the_post_thumbnail(); ?>

<?php endif; ?>
এখানে আগে চেক করা হচ্ছে Post-এর Featured Image আছে কি না।
নির্দিষ্ট Image Size ব্যবহার
<?php the_post_thumbnail('thumbnail'); ?>
অথবা:
<?php the_post_thumbnail('medium'); ?>
অথবা:
<?php the_post_thumbnail('large'); ?>
এছাড়া Custom Image Size-ও তৈরি করা যায়, যেটা আমরা পরবর্তী সময়ে বিস্তারিত দেখব।
২. Dynamic Title Support
WordPress Theme-এ Browser-এর <title> Tag WordPress-এর মাধ্যমে Dynamicভাবে পরিচালনা করতে:
add_theme_support('title-tag');
ব্যবহার করা যায়।
যেমন:
function my_theme_setup() {

    add_theme_support('title-tag');

}

add_action('after_setup_theme', 'my_theme_setup');
এর সুবিধা হলো প্রতিটি Page, Post, Archive ইত্যাদির জন্য WordPress প্রয়োজন অনুযায়ী Title তৈরি করতে পারে।
title-tag ব্যবহার করলে header.php-তে কী করতে হবে?
আপনার header.php-তে সাধারণত:
<?php wp_head(); ?>
থাকা অত্যন্ত গুরুত্বপূর্ণ।
উদাহরণ:
<!DOCTYPE html>
<html <?php language_attributes(); ?>>

<head>

    <meta charset="<?php bloginfo('charset'); ?>">

    <meta name="viewport" content="width=device-width, initial-scale=1">

    <?php wp_head(); ?>

</head>
title-tag Support ব্যবহার করলে পুরোনো পদ্ধতিতে নিজে <title> লিখে সবকিছু পরিচালনা করার প্রয়োজন সাধারণত থাকে না।
৩. Custom Logo Support
Theme-এ WordPress Customizer-এর মাধ্যমে Logo সেট করার সুবিধা দিতে:
add_theme_support('custom-logo');
ব্যবহার করা যায়।
যেমন:
function my_theme_setup() {

    add_theme_support('custom-logo');

}

add_action('after_setup_theme', 'my_theme_setup');
এরপর Theme-এর Header-এ Logo দেখানোর জন্য:
<?php
if (function_exists('the_custom_logo')) {
    the_custom_logo();
}
?>
ব্যবহার করা যায়।
৪. Custom Background
WordPress-এর মাধ্যমে Website-এর Background পরিবর্তনের Support দিতে:
add_theme_support('custom-background');
ব্যবহার করা যায়।
যেমন:
function my_theme_setup() {

    add_theme_support('custom-background');

}

add_action('after_setup_theme', 'my_theme_setup');
এর ফলে Theme Custom Background Feature ব্যবহার করতে পারে।
৫. Custom Header
Theme-এর জন্য Custom Header Support Enable করতে:
add_theme_support('custom-header');
ব্যবহার করা যায়।
যেমন:
function my_theme_setup() {

    add_theme_support('custom-header');

}

add_action('after_setup_theme', 'my_theme_setup');
এর মাধ্যমে WordPress-এর Custom Header Feature ব্যবহার করা যায়।
৬. HTML5 Support
WordPress-এর কিছু নির্দিষ্ট Markup-এর জন্য HTML5 Support Enable করা যায়।
add_theme_support(
    'html5',
    array(
        'search-form',
        'comment-form',
        'comment-list',
        'gallery',
        'caption',
        'style',
        'script'
    )
);
এখানে আমরা Theme-কে বলছি কোন কোন অংশে HTML5 Markup ব্যবহার করতে চাই।
৭. Automatic Feed Links
Theme-এ Feed Links Support Enable করতে:
add_theme_support('automatic-feed-links');
ব্যবহার করা যায়।
তবে আধুনিক Theme Development-এ এটি ব্যবহার করার আগে WordPress-এর বর্তমান Theme Architecture এবং Feed ব্যবহারের প্রয়োজনীয়তা বুঝে নেওয়া ভালো।
৮. Responsive Embeds
Theme-এ Responsive Embed Support-এর জন্য:
add_theme_support('responsive-embeds');
ব্যবহার করা যায়।
যেমন Website-এ YouTube Video বা অন্য কোনো Embed Content থাকলে Responsive Behaviour-এর জন্য এটি কাজে লাগতে পারে।
৯. Wide এবং Full Alignment Support
Block Editor-এর Content-কে Wide বা Full Width Alignment দেওয়ার জন্য Theme Support ব্যবহার করা যায়:
add_theme_support('align-wide');
এর ফলে Gutenberg Block Editor-এর কিছু Block-এ Wide এবং Full alignment ব্যবহার করার সুবিধা পাওয়া যায়।
১০. Block Styles Support
Block Style Support-এর জন্য:
add_theme_support('wp-block-styles');
ব্যবহার করা যায়।
এটি Block Editor-এর Blockগুলোর জন্য WordPress-এর Default Block Styling ব্যবহারে সাহায্য করে।
১১. Editor Styles
Editor এবং Frontend-এর Style কাছাকাছি রাখার জন্য:
add_theme_support('editor-styles');
ব্যবহার করা যায়।
এর সঙ্গে সাধারণত Editor stylesheet সেটআপ করার প্রয়োজন হতে পারে।
যেমন:
add_editor_style('editor-style.css');
এভাবে Gutenberg Editor-এর মধ্যে Custom Styling দেওয়া যায়।
একসঙ্গে অনেকগুলো Theme Support
এখন পর্যন্ত আমরা আলাদাভাবে অনেকগুলো Feature দেখলাম।
বাস্তবে functions.php-তে এগুলো একটি Setup Function-এর মধ্যে রাখা যায়।
যেমন:
function my_theme_setup() {

    add_theme_support('post-thumbnails');

    add_theme_support('title-tag');

    add_theme_support('custom-logo');

    add_theme_support('custom-background');

    add_theme_support('custom-header');

    add_theme_support('html5', array(
        'search-form',
        'comment-form',
        'comment-list',
        'gallery',
        'caption',
        'style',
        'script'
    ));

    add_theme_support('responsive-embeds');

    add_theme_support('align-wide');

    add_theme_support('wp-block-styles');

}

add_action('after_setup_theme', 'my_theme_setup');
এটাই হলো একটি Basic Theme Setup-এর ভালো উদাহরণ।
এবার একটি Real Project-এর মতো Setup করি
ধরুন আমরা একটি Blog Theme তৈরি করছি।
আমাদের প্রয়োজন:
-
Featured Image
-
Dynamic Title
-
Custom Logo
-
HTML5 Markup
-
Responsive Embed
-
Wide Alignment
-
Block Styles
তাহলে:
function my_theme_setup() {

    // Featured Image
    add_theme_support('post-thumbnails');


    // Dynamic Title
    add_theme_support('title-tag');

    // Custom Logo
    add_theme_support('custom-logo');

    // HTML5 Support
    add_theme_support('html5', array(
        'search-form',
        'comment-form',
        'comment-list',
        'gallery',
        'caption',
        'style',
        'script'
    ));

    // Responsive Embed
    add_theme_support('responsive-embeds');

    // Wide and Full Width
    add_theme_support('align-wide');

    // Block Styles
    add_theme_support('wp-block-styles');

}

add_action('after_setup_theme', 'my_theme_setup');
এই Code-টি functions.php-তে রাখতে পারি।
Theme Support-এর সঙ্গে functions.php কেন এত গুরুত্বপূর্ণ?
এখানেই আসল বিষয়টা।
WordPress Theme Development করতে গেলে functions.php আপনার Theme-এর একটি গুরুত্বপূর্ণ Control Center-এর মতো কাজ করবে।
এখানে আমরা ধীরে ধীরে শিখব:
Theme Support
     ↓
Menu Registration
     ↓
Sidebar Registration
     ↓
CSS Enqueue
     ↓
JavaScript Enqueue
     ↓
Custom Functions
     ↓
Hooks
     ↓
Custom Post Type
তাই functions.php ভালোভাবে বোঝা WordPress Developer হওয়ার জন্য খুবই গুরুত্বপূর্ণ।
একটি গুরুত্বপূর্ণ ভুল
অনেকে এমন Code লিখে:
add_theme_support('post-thumbnails');
এবং মনে করেন কাজ শেষ।
কাজ করবে এমন পরিস্থিতি থাকতে পারে, কিন্তু Theme Development-এর ভালো Structure হিসেবে আমরা সাধারণত Setup Function এবং after_setup_theme Hook ব্যবহার করব:
function my_theme_setup() {

    add_theme_support('post-thumbnails');

}

add_action('after_setup_theme', 'my_theme_setup');
এভাবে Code Organize করা সহজ হয় এবং পরবর্তীতে আরও Theme Feature যোগ করাও সহজ হয়।
Classic Theme এবং Block Theme-এর ক্ষেত্রে পার্থক্য
এখানে একটি বিষয় মনে রাখা জরুরি।
আমরা এই পর্বে মূলত Classic PHP-based Theme Development-এর ধারণা নিয়ে কাজ করছি।
আধুনিক Block Theme-এ অনেক Theme Configuration theme.json-এর মাধ্যমে করা হয়।
অর্থাৎ নতুন WordPress Theme Development শিখতে গেলে শুধু add_theme_support() জানলেই হবে না; পরবর্তীতে:
theme.json
Block Theme
Site Editor
Templates
Template Parts
Block Patterns
এসব বিষয়ও শেখা প্রয়োজন।
তবে Classic Theme-এর Architecture বোঝার জন্য add_theme_support() অত্যন্ত গুরুত্বপূর্ণ।
আজকের Practical Task
এখন নিজের হাতে একটি Theme তৈরি করে functions.php-তে এই Code লিখুন:
function my_theme_setup() {

    add_theme_support('post-thumbnails');

    add_theme_support('title-tag');

    add_theme_support('custom-logo');

    add_theme_support('html5', array(
        'search-form',
        'comment-form',
        'comment-list',
        'gallery',
        'caption',
        'style',
        'script'
    ));

}

add_action('after_setup_theme', 'my_theme_setup');
এরপর WordPress Dashboard-এ গিয়ে পরীক্ষা করুন:
Post → Add New
দেখুন Featured Image Option এসেছে কি না।
তারপর:
Appearance → Customize
অথবা আপনার WordPress Version/Theme অনুযায়ী সংশ্লিষ্ট Site Customization Interface-এ গিয়ে Custom Logo-এর Option আছে কি না দেখুন।
আজকের পর্ব থেকে যা শিখলাম
আজ আমরা জানলাম:
add_theme_support()
        ↓
after_setup_theme
        ↓
post-thumbnails
        ↓
title-tag
        ↓
custom-logo
        ↓
custom-background
        ↓
custom-header
        ↓
html5
        ↓
responsive-embeds
        ↓
align-wide
        ↓
wp-block-styles
        ↓
editor-styles
সবগুলো Feature প্রতিটি Theme-এ একসঙ্গে ব্যবহার করতে হবে—এমন নয়। Theme-এর প্রয়োজন অনুযায়ী যে Support দরকার, সেটিই Enable করতে হবে।
WordPress Development শেখার সময় ছোট ছোট Function-এর পেছনের Concept বোঝা সবচেয়ে গুরুত্বপূর্ণ।
add_theme_support() নিজে খুব ছোট একটি Function, কিন্তু এর মাধ্যমে আমরা বুঝতে পারি WordPress Theme কীভাবে নিজের প্রয়োজন অনুযায়ী WordPress-এর বিভিন্ন Feature-এর সঙ্গে কাজ করার জন্য প্রস্তুত হয়।
আজকের পর্বে আমরা শুধু Code দেখিনি; আমরা বুঝেছি কেন add_theme_support() ব্যবহার করি, কোথায় ব্যবহার করি এবং বাস্তব Theme Development-এ এর ভূমিকা কী।
পরবর্তী পর্বে আমরা functions.php-এর আরও গুরুত্বপূর্ণ একটি বিষয়—register_nav_menus() দিয়ে Dynamic WordPress Menu তৈরি করা এবং সেটি Theme-এর Header-এ দেখানো—হাতে-কলমে শিখব।